
Anywhere in your home, we find the leak — usually to within a metre.
Behind a wall, under a floor, beneath the paving, inside a bricked-in bath. A hidden leak can run for months on your bill before it shows itself. We find it with non-invasive equipment first, so the only thing that gets opened is the piece that has to be.
Signs of a hidden leak
Any one of these is worth a meter test. Two together usually means water is going somewhere it should not.
- A water bill that has jumped with no change in how you use water
- The water meter still turning with every tap in the house closed
- A damp patch, or a warm spot on a floor
- The sound of running water inside a wall
- Paint bubbling, plaster blistering, or a musty smell that will not clear
Close every tap in the house and switch off anything that draws water automatically. Then look at your water meter. If the dial is still moving, water is being lost between the meter and your taps.
Photograph the meter, wait an hour, photograph it again. Send us both pictures and we can tell you roughly how much you are losing before anybody comes out.
Found before anything is opened
Detection is a sequence, not a single gadget. Each step narrows the area the next one has to search.
Everything closed, then we watch the meter. This establishes that water is actually being lost before anyone opens anything.
A walk of the property looking for what the water is already telling us — damp, warm floors, stained ceilings, corrosion on exposed pipework.
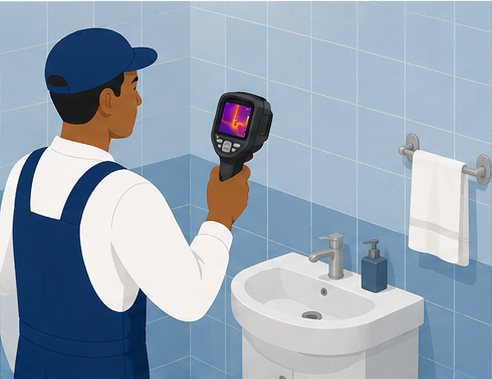
Thermal, tracer gas or acoustic, chosen for the environment and for what the technician is trained on and confident with.
A second method to pin the leak down to within about a metre of the main loss. Normally about an hour.
Once the leak is pinpointed, the plumber issues a report, opens only what has to be opened, repairs the pipe and pressure tests the line. The damage the water caused is repaired after that — see the try-out period below, because the order matters more than it looks.
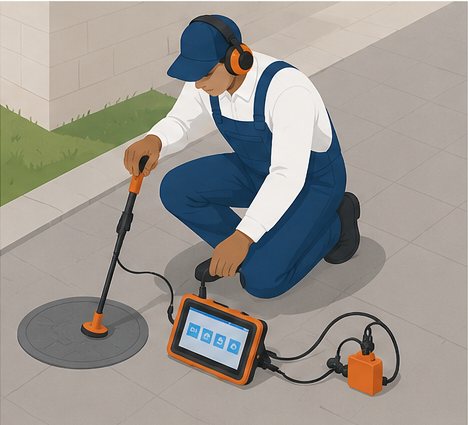
Three tools, and the reason for each
No single instrument works everywhere. What a technician reaches for depends on what they are trained on and on what the building will let them hear or see.
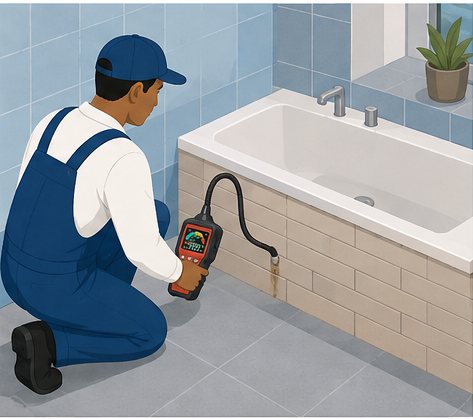
What actually happens when we use gas
The one that sounds alarming and is not. The blend is non-toxic and non-flammable, and it is the method that finds a leak nobody can see, hear or feel.
As much water as possible is drained from the section being tested, so the gas can move freely through it.
The pipe is filled through a regulator with a non-toxic, non-flammable blend — 5% hydrogen, 95% nitrogen.
Hydrogen molecules are small enough to escape through the leak and travel up through soil, concrete or brick.
A sensitive hydrogen sensor is walked across the surface. Where the concentration peaks is where the leak is.
Corroded pipes, and why we tell you early
This is the most common surprise on a leak job, and it is the one worth understanding before the plumber arrives rather than after.
Green marks on the pipework. Where you see them in one place you usually see them in several, because the whole line has aged in the same water and the same soil.
Where corrosion has spread, a full repipe is the honest answer. Patching a section beside a corroded one moves the next leak a metre along the pipe and buys you a few months.
Insurers generally treat corrosion as wear rather than a sudden event, so a repipe usually falls outside the claim even when the burst that revealed it is covered.
We photograph what we found, price the repipe separately from the claimable repair, and show you which part is which. You should never have to guess where the claim ends and your own money starts.
Send a photograph and we will tell you what we think it is.
The order every Home Assist plumber follows
This sequence is a requirement on our network, not a preference. It exists because skipping a step is what turns one repair into three.
A leak detection test to pinpoint the leak. Always, before anything is opened.
A written report of what was found and where, so the claim and the repair rest on evidence.
The burst or leaking pipe is repaired and the line pressure tested.
A try-out period of one to three weeks, depending on how fast the structure dries, before the resultant damage is repaired.
What people ask before booking
Two things decide it. The first is the technician: service providers use the equipment they are trained on and confident with, and a tool used confidently finds more than a tool used occasionally. The second is the environment — tiles reflect sound, open ground disperses gas, a cold supply line barely registers on a thermal camera. Once the leak has been located, a second confirming test is often run with a different method to pin it down to within about a metre of the main loss. That confirming test normally takes about an hour.
Send us what you are seeing
A photograph of the meter, the damp patch or the bill is usually enough for us to tell you what we think it is and what it will take to find.